Complete Guide to Stripping and Refinishing Vintage Solid Wood Chairs
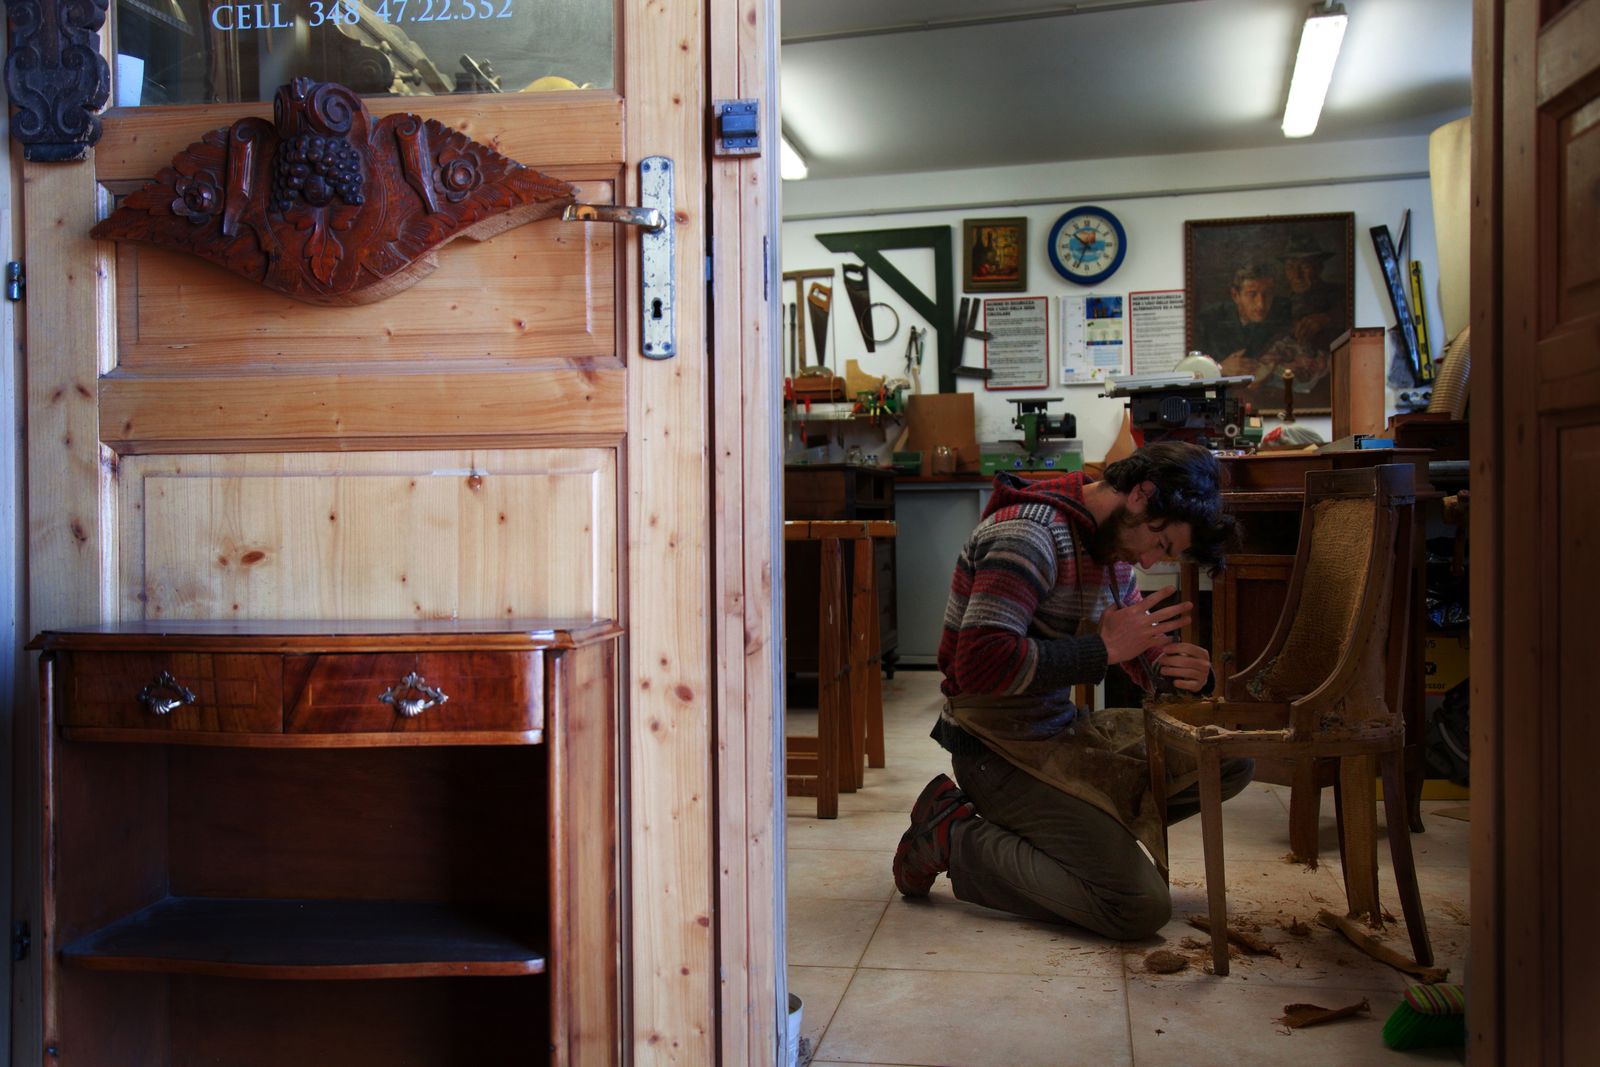
Bringing a neglected vintage chair back from the brink of the attic requires patience, a light touch, and a deep respect for the material. Mass-produced furniture from recent decades often falls apart when exposed to moisture, but older solid wood pieces possess a resilient structure built to withstand generations of daily use. Stripping away decades of darkened shellac, failing varnish, and accumulated dirt reveals a living surface that responds warmly to human hands. The process demands time rather than heavy equipment, making it an ideal weekend project for anyone with a small workspace and a few basic hand tools.
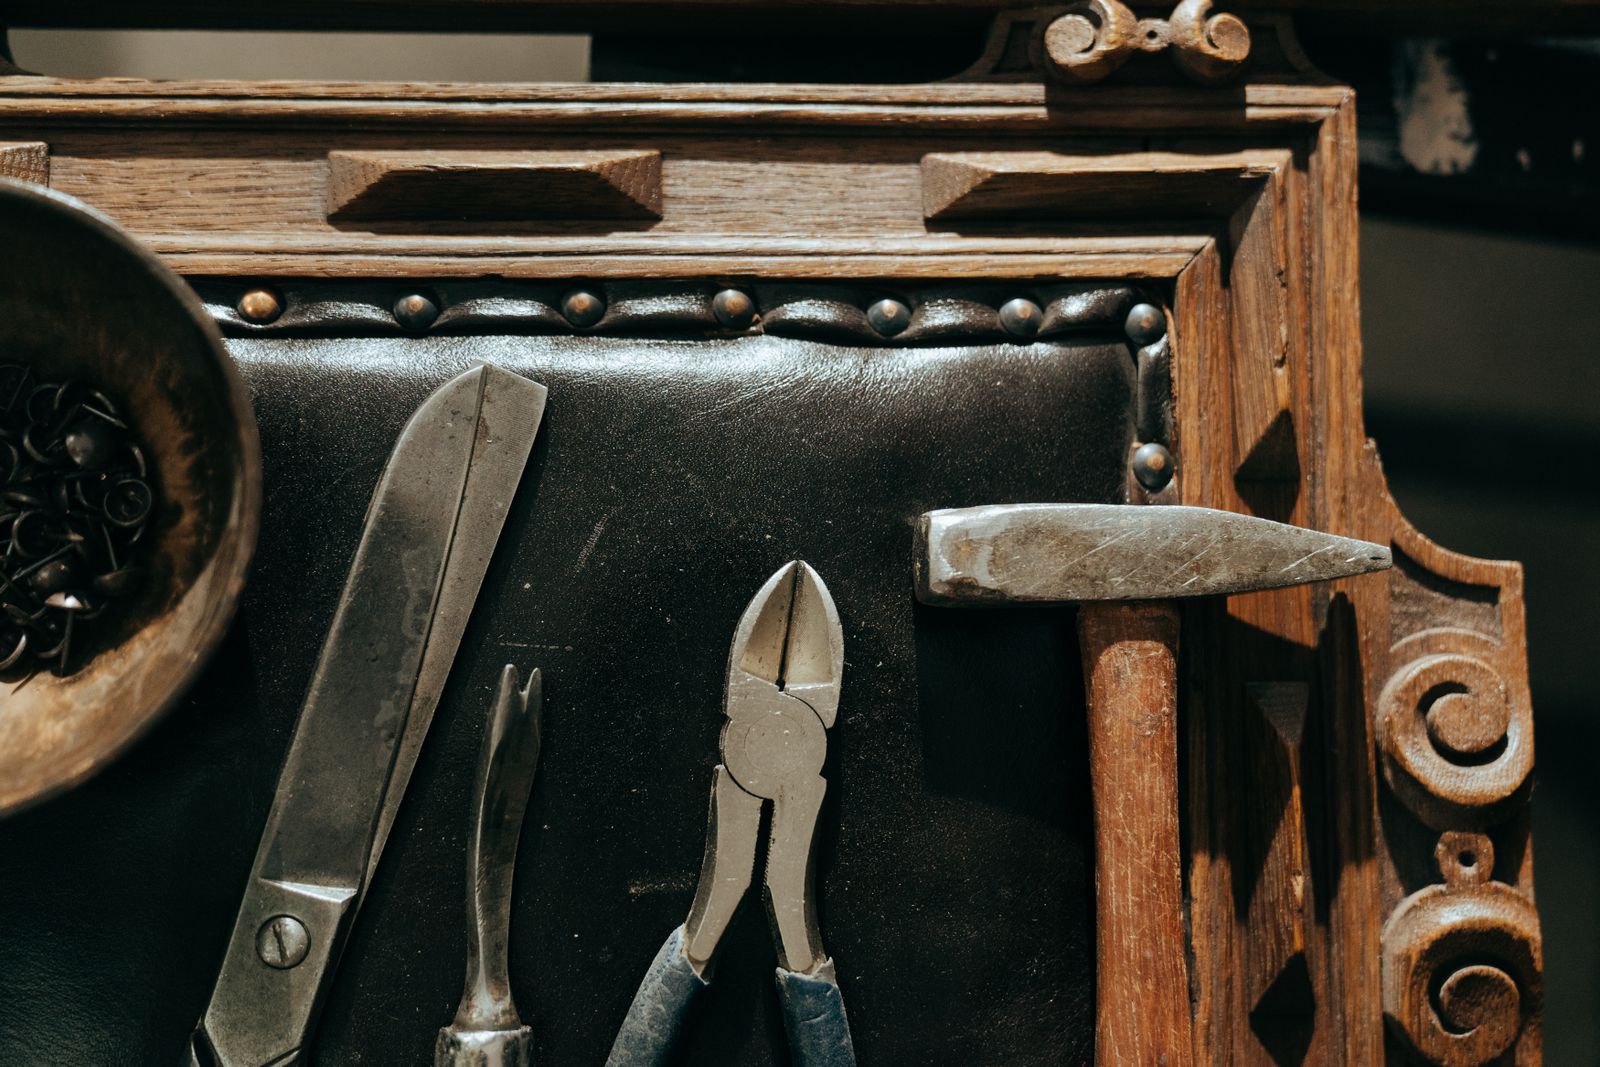
Working by hand protects the subtle curves, turned spindles, and hand-cut joinery that power tools inevitably flatten and destroy. A machine sander takes off too much material in seconds, erasing the gentle depressions and tool marks that tell the story of how the object was made. Hand-scraping and careful chemical application target only the failing finish, leaving the underlying wood untouched and rich with character. This hands-on approach builds a tactile connection with the furniture long before the final coat of oil touches the surface.
Choosing the Right Stripper
Chemical strippers do the heavy lifting in vintage restoration, but modern formulations vary wildly in effectiveness and safety. Avoid aggressive industrial compounds that dissolve animal glues used in antique joinery, otherwise the chair legs and backrests will loosen during the cleanup phase. Gel-based solvent strippers sit well on vertical chair legs without running onto dry patches, allowing the chemical to soften multiple layers of old varnish uniformly.
Work in a well-ventilated space and wear heavy nitrile gloves because these formulas react strongly with skin. Apply the gel thickly with a natural-bristle brush in one direction rather than brushing it back and forth. Let the chemical sit undisturbed while it bubbles and lifts the old finish away from the pores of the wood. Scrape the sludge off gently using a flexible plastic putty knife or a brass wire brush that will not gouge the soft grain underneath.
Mastering Hand Sanding Techniques
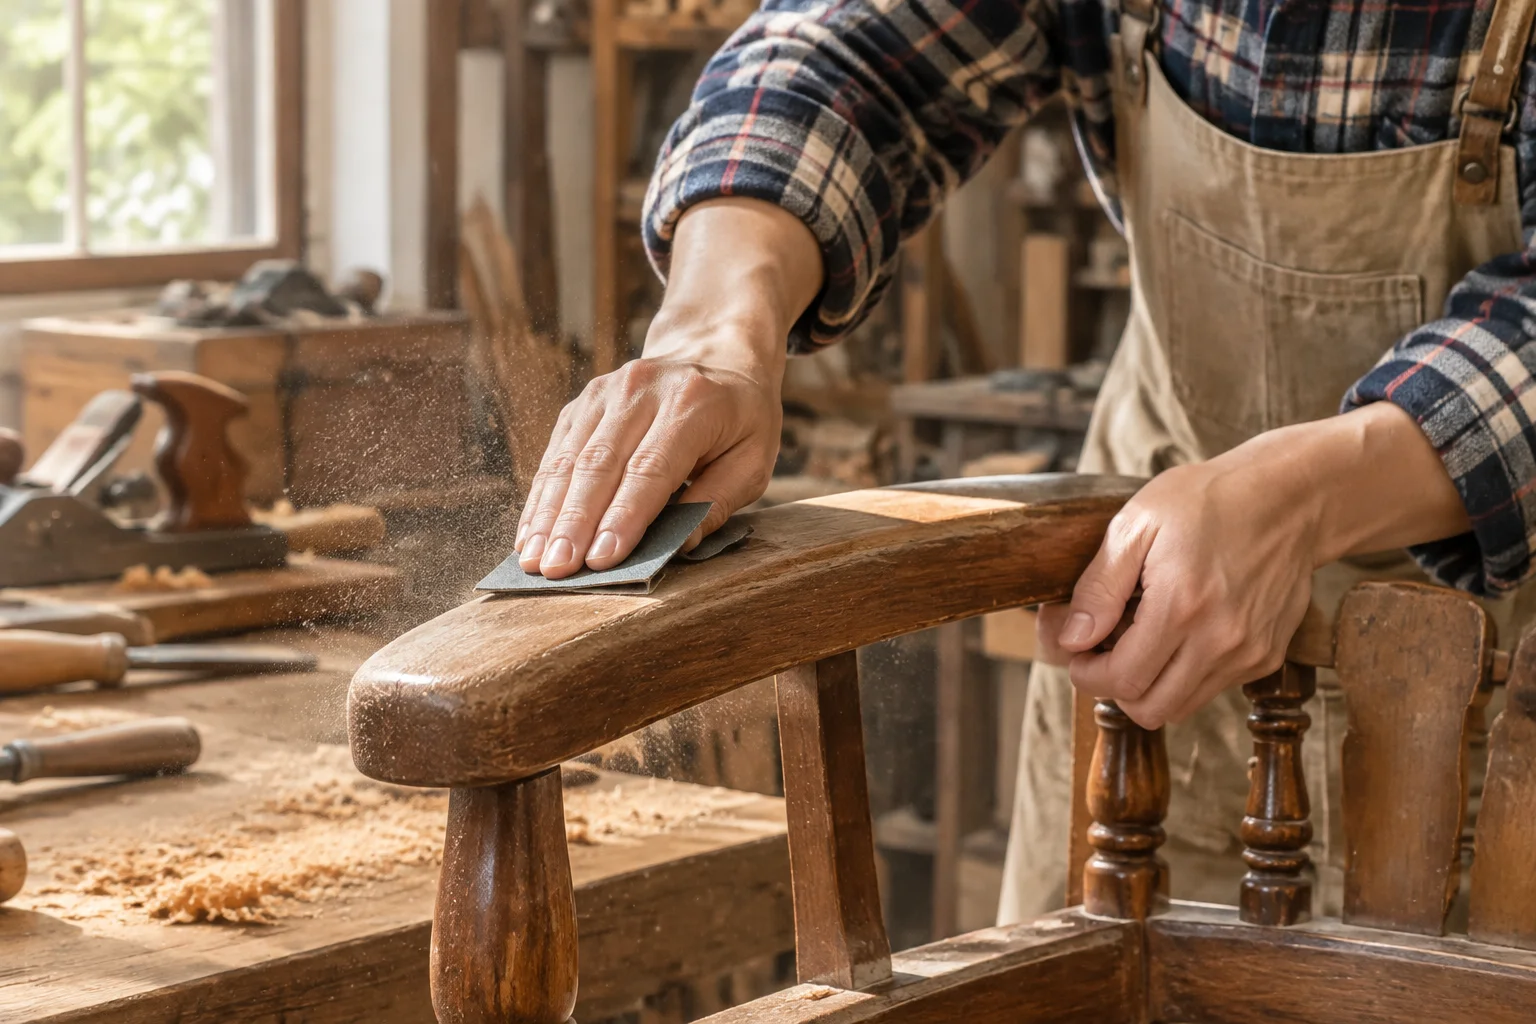
Raw wood emerges from the stripping phase looking thirsty, uneven, and slightly gray from neutralized chemicals and raised grain fibers. Never jump straight to fine sandpaper, because coarse grit is required first to level out remaining patches of stubborn old finish. Wrap the sandpaper around a cork or rubber sanding block rather than using bare fingers, which create uneven depressions in the wood surface.
Proceed through a thoughtful progression of grits to erase scratches and polish the timber before finishing:
- Start with 120-grit paper to remove residual varnish spots and flatten minor blemishes.
- Switch to 150-grit paper to smooth out the coarser scratch pattern left behind.
- Apply 180-grit paper across flat panels and turned spindles for a uniform texture.
- Finish with 220-grit paper to prepare the porous surface for oil absorption.
- Wipe the chair down with a tack cloth between every single grit change.
Inspect the chair under raking light from a side window to catch hidden scratches before applying any liquids. Wood dust settles deep into open pores, so vacuum the entire frame thoroughly and wipe it down with a damp cloth soaked in mineral spirits. Let the timber dry completely for several hours until the original color returns across all joints and seat edges.
Applying Natural Oil and Wax
Modern polyurethane creates an impenetrable plastic film that traps wood beneath a glossy, cold barrier that feels wrong on vintage seating. Natural drying oils penetrate deep into the cellular structure of the timber, hardening from the inside out to create a warm, matte defense against spills and daily wear. Tung oil and boiled linseed oil both perform exceptionally well on solid hardwoods like oak, walnut, and beech.
Pour a small amount of oil onto a clean cotton cloth and rub it firmly into the wood following the direction of the grain. Allow the oil to sit for fifteen minutes so the pores drink their fill, then buff every surface rigorously with a dry rag to remove excess pools. Any sticky residue left on the surface will cure into a gummy shell that attracts dust and ruins the tactile feel of the vintage chair.
Protect the cured oil layer further by applying a thin coat of natural beeswax paste after forty-eight hours of drying time. Work the wax into the carved details using a horsehair brush, let it haze over for half an hour, and buff it to a soft, enduring luster. This traditional finishing method breathes with the wood, accommodating seasonal humidity changes without cracking or peeling, and ages gracefully with every year of use.
Maintaining a hand-restored chair requires nothing more than an occasional wipe with a dry microfiber cloth and a fresh coat of wax once a year. The minor dents and scratches that accumulate over future decades will blend into the patina rather than standing out as damage, because the oil and wax finish allows the wood to continue living a long, dignified life in the home.